

Easy multiple Wallet Integration for Your dApp with web3Modal (Metamask, Coinbase etc.)
Integrate multiple wallets in dApp using web3Modal


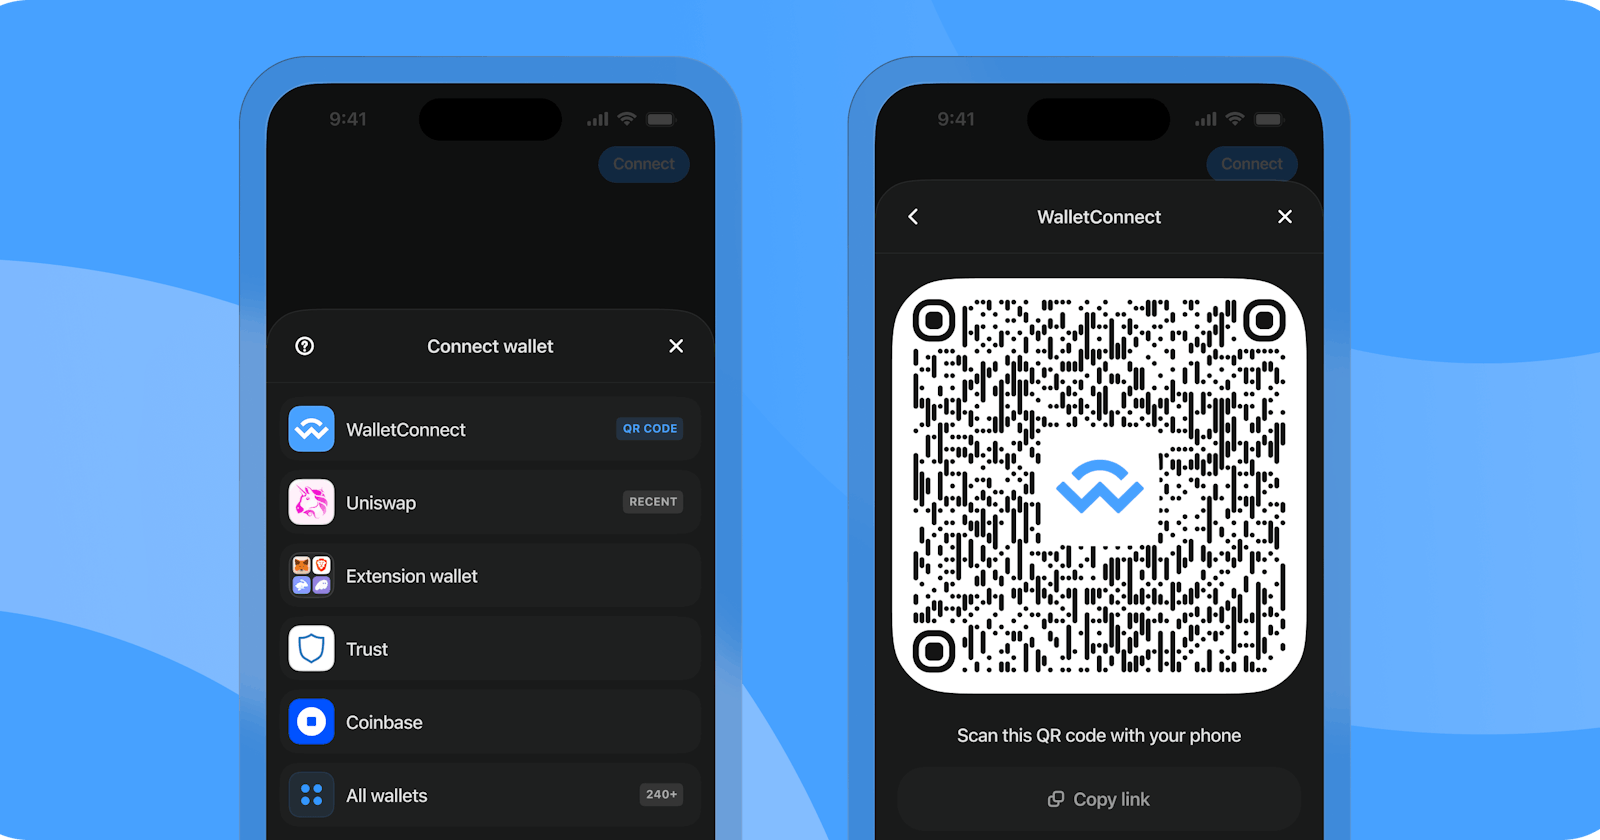
We are going to implement multiple wallets like Metamask, coinbase, Wallet Connect, trust wallet etc.,
Introduction
We are implementing multiple wallets using web3Modal, wagmi and viem
wagmi: it is a collection of React Hooks containing everything you need to start working with Ethereum, you can compare it to other react web3 frameworks like web3-react. Check out docs for more info.
viem: it is a TypeScript interface for Ethereum that provides low-level stateless primitives for interacting with Ethereum. we are using viem as a replacement for ethers.js for obvious bundle size reasons.
web3Modal: The Web3Modal SDK allows you to easily connect your Web3 dapp with wallets. It provides a simple and intuitive interface for dapps to request actions such as signing transactions and interacting with smart contracts on the blockchain. Check out docs for more info.
Prerequisites
Node.js and npm installed on your system
React.js knowledge
web3.js or ethers.js knowledge
Setup wallet connect project
Steps to do that,
Sign in on https://walletconnect.com/
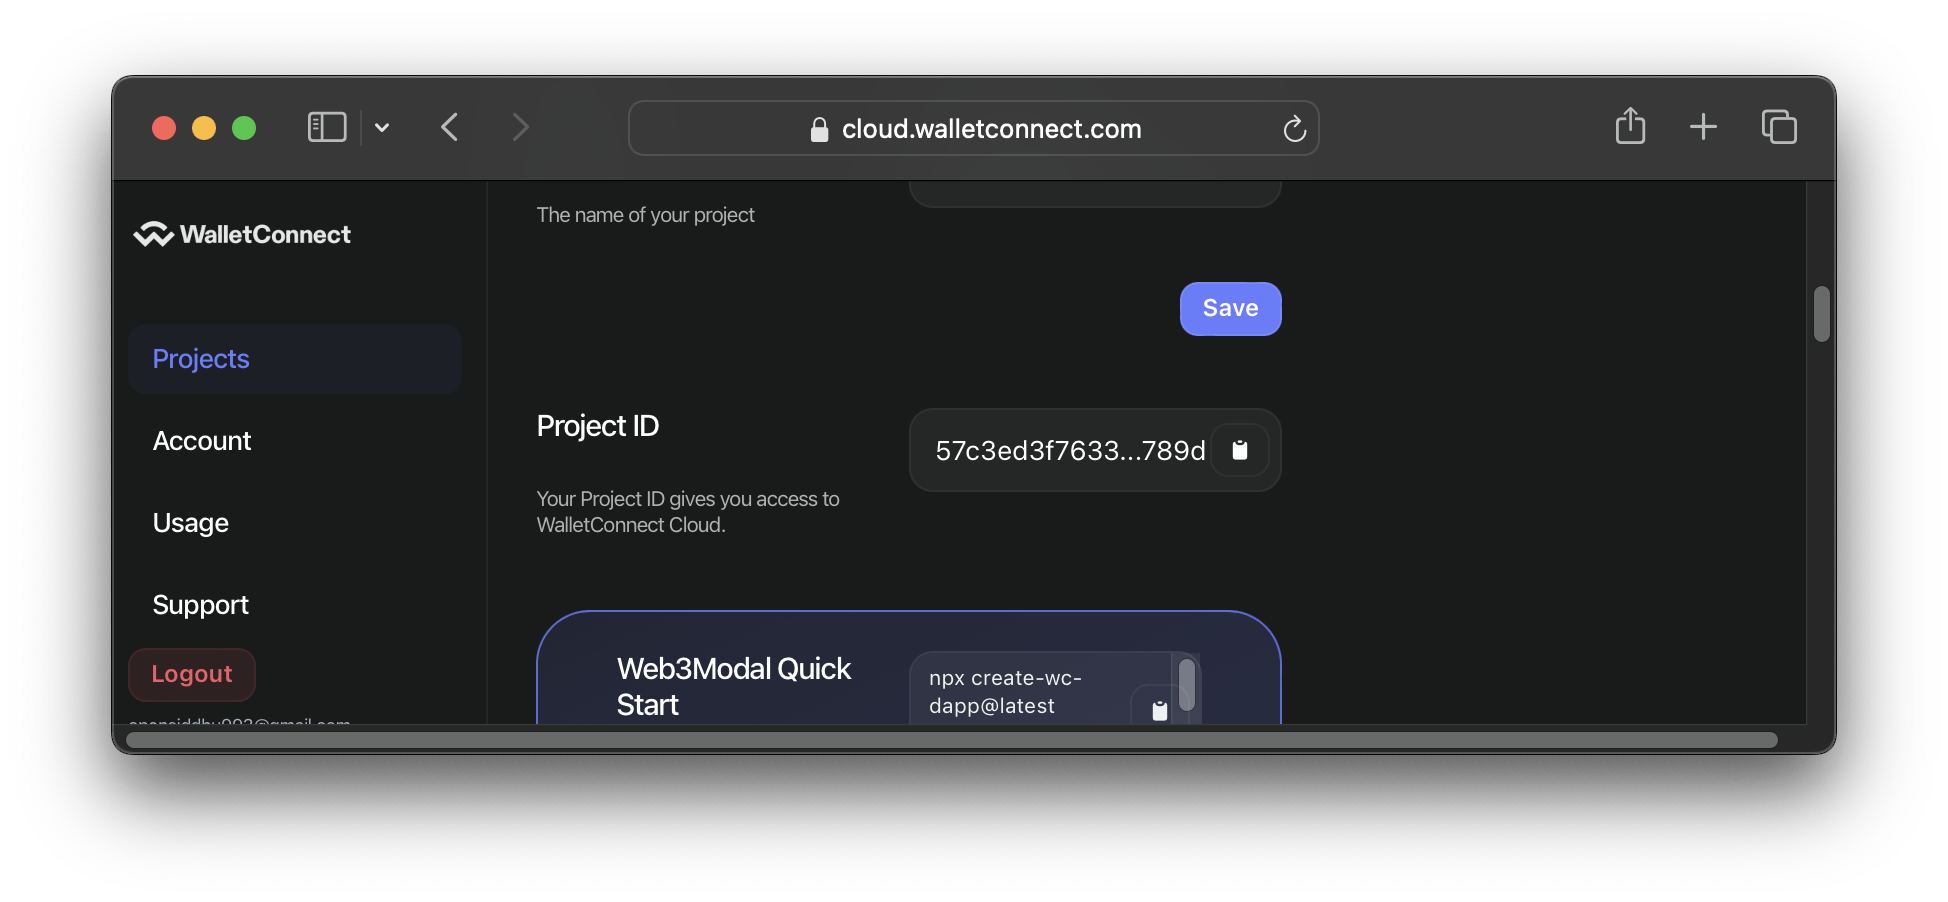
Create a new project by clicking Create button on https://cloud.walletconnect.com/app
name project and choose type App

Go to the created project and grab Project ID which will be needed in future.
Setup React project
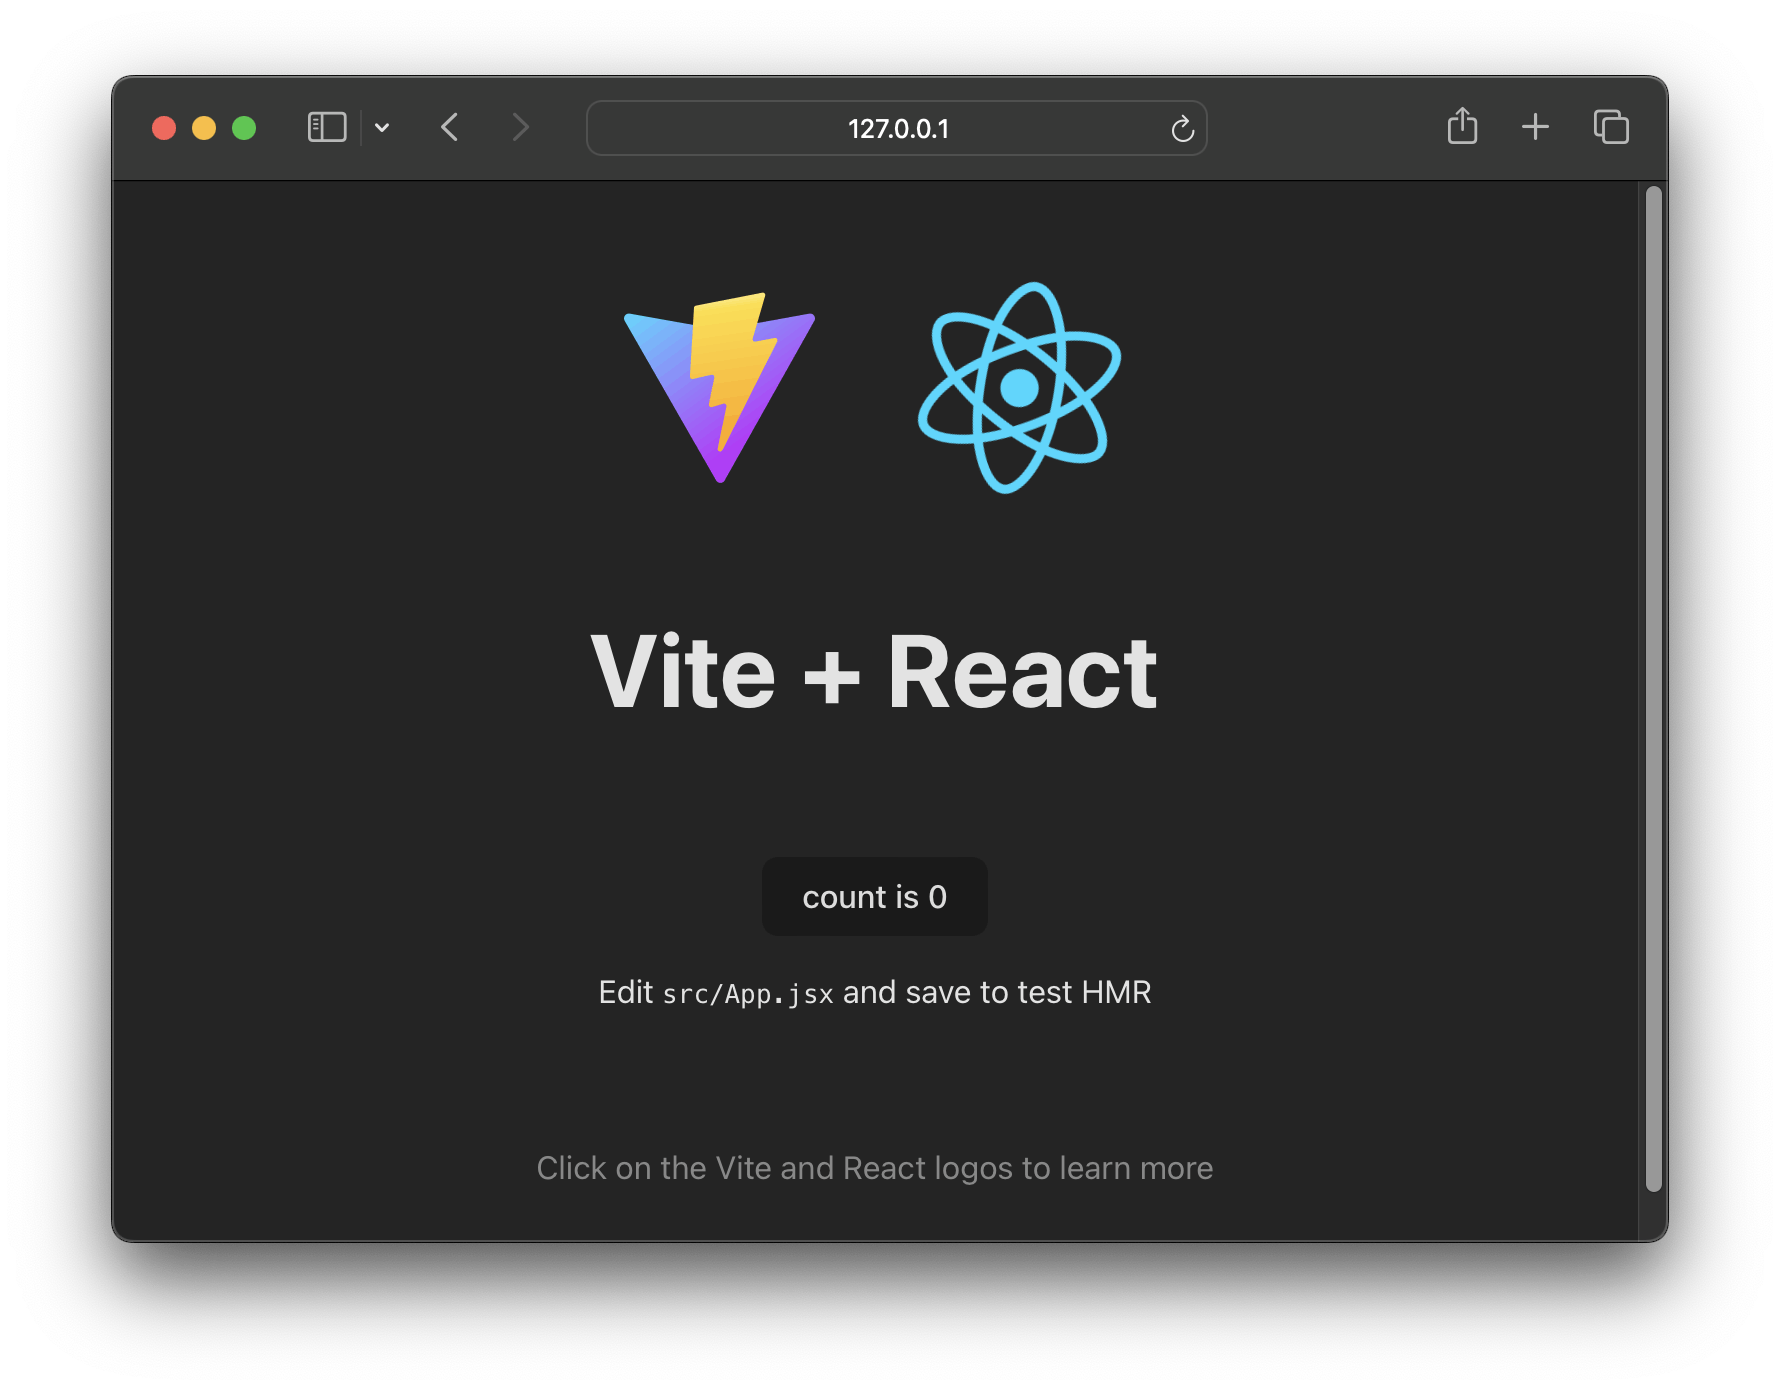
We are setting up a React JS project to play with.
npm create vite@latest
It will ask you a few configuration questions as follows:
✔ Project name: web3-modal-setup
✔ Select a framework: › React
✔ Select a variant: › JavaScript
cd web3-modal-setup
npm install
npm run dev
Install Packages
Installing needed packages to implement needed web3 functionality and wallet component packages.
npm install @web3modal/wagmi wagmi viem
Configure Wagmi
wagmi is a collection of React Hooks containing everything you need to start working with Ethereum. wagmi makes it easy to "Connect Wallet," display ENS and balance information, sign messages, interact with contracts, and much more — all with caching, request deduplication, and persistence.
Import packages
import { createWeb3Modal, defaultWagmiConfig } from '@web3modal/wagmi/react'

import { WagmiConfig } from 'wagmi'
import { arbitrum, mainnet } from 'viem/chains'
Create wagmiConfig and web3Modal
Recommend writing this code outside of the react app component, so it can not go under any unnecessary render.
here, projectId is the Project ID of the wallet connect project that we have created in the first place.
// 1. Get projectId
const projectId = '57c3edxxxxxxxxxxxxxxxxxxxxxee'

// 2. Create wagmiConfig
const metadata = {
  name: 'web3-modal-setup',
  description: 'Web3 Modal Example',
}

const chains = [mainnet, arbitrum]
const wagmiConfig = defaultWagmiConfig({ chains, projectId, metadata })

// 3. Create modal
createWeb3Modal({ wagmiConfig, projectId, chains })
Wrap app with WagmiConfig
Finally, wrap your app with the WagmiConfig component, passing config to it.
function App() {
  return (
    <>
      <WagmiConfig config={wagmiConfig}>
        {/* other components.. */}
      </WagmiConfig>
    </>
  )
}
Implement Web3Modal and button
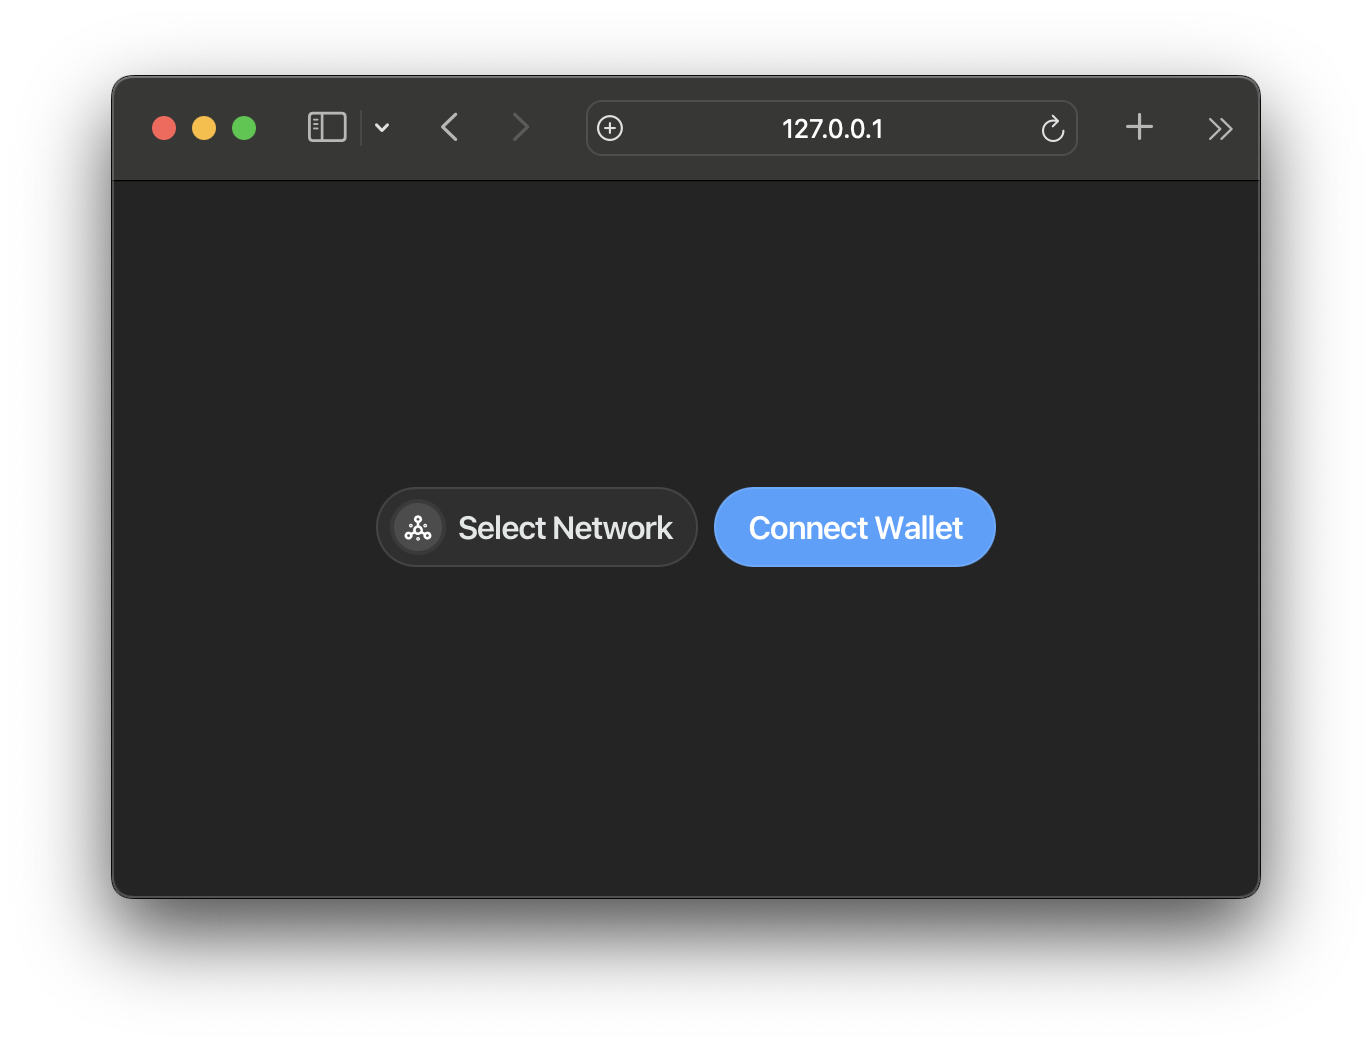
Inside of WagmiConfig component, Implement button <w3m-network-button /> and <w3m-button />
<w3m-network-button />: it's the button used to change the network<w3m-button />: it's the button that provides many wallet options to connect with your dApp.
Here, to make buttons worth looking at, some CSS is written which isn't necessary by the way.
function App() {
  const [isNetworkSwitchHighlighted, setIsNetworkSwitchHighlighted] =
    useState(false);
  const [isConnectHighlighted, setIsConnectHighlighted] = useState(false);

  const closeAll = () => {
    setIsNetworkSwitchHighlighted(false);
    setIsConnectHighlighted(false);
  };

  return (
    <>
      <WagmiConfig config={wagmiConfig}>
        <header>
          <div
            className={styles.backdrop}
            style={{
              opacity:
                isConnectHighlighted || isNetworkSwitchHighlighted
                  ? 1
                  : 0,
            }}
          />
          <div className={styles.header}>
            <div className={styles.buttons}>
              <div
                onClick={closeAll}
                className={`${styles.highlight} ${isNetworkSwitchHighlighted
                  ? styles.highlightSelected
                  : ``
                  }`}
              >
                <w3m-network-button />
              </div>
              <div
                onClick={closeAll}
                className={`${styles.highlight} ${isConnectHighlighted
                  ? styles.highlightSelected
                  : ``
                  }`}
              >
                <w3m-button />
              </div>
            </div>
          </div>
        </header>
      </WagmiConfig>
    </>
  )
}
You're good to go!
run it.
npm run dev
Here you go,

Checkout Github repository, in any case, it's needed